
Photo editing
How to crop, rotate, and change a photo’s aspect ratio on iPhone
Import a photo in Workbench (“工作台”), open Crop (“裁剪”), adjust the framing and ratio, then Generate (“生成”) and preview before saving or sharing. Processing stays on device and preserves the original.
Crop a photo
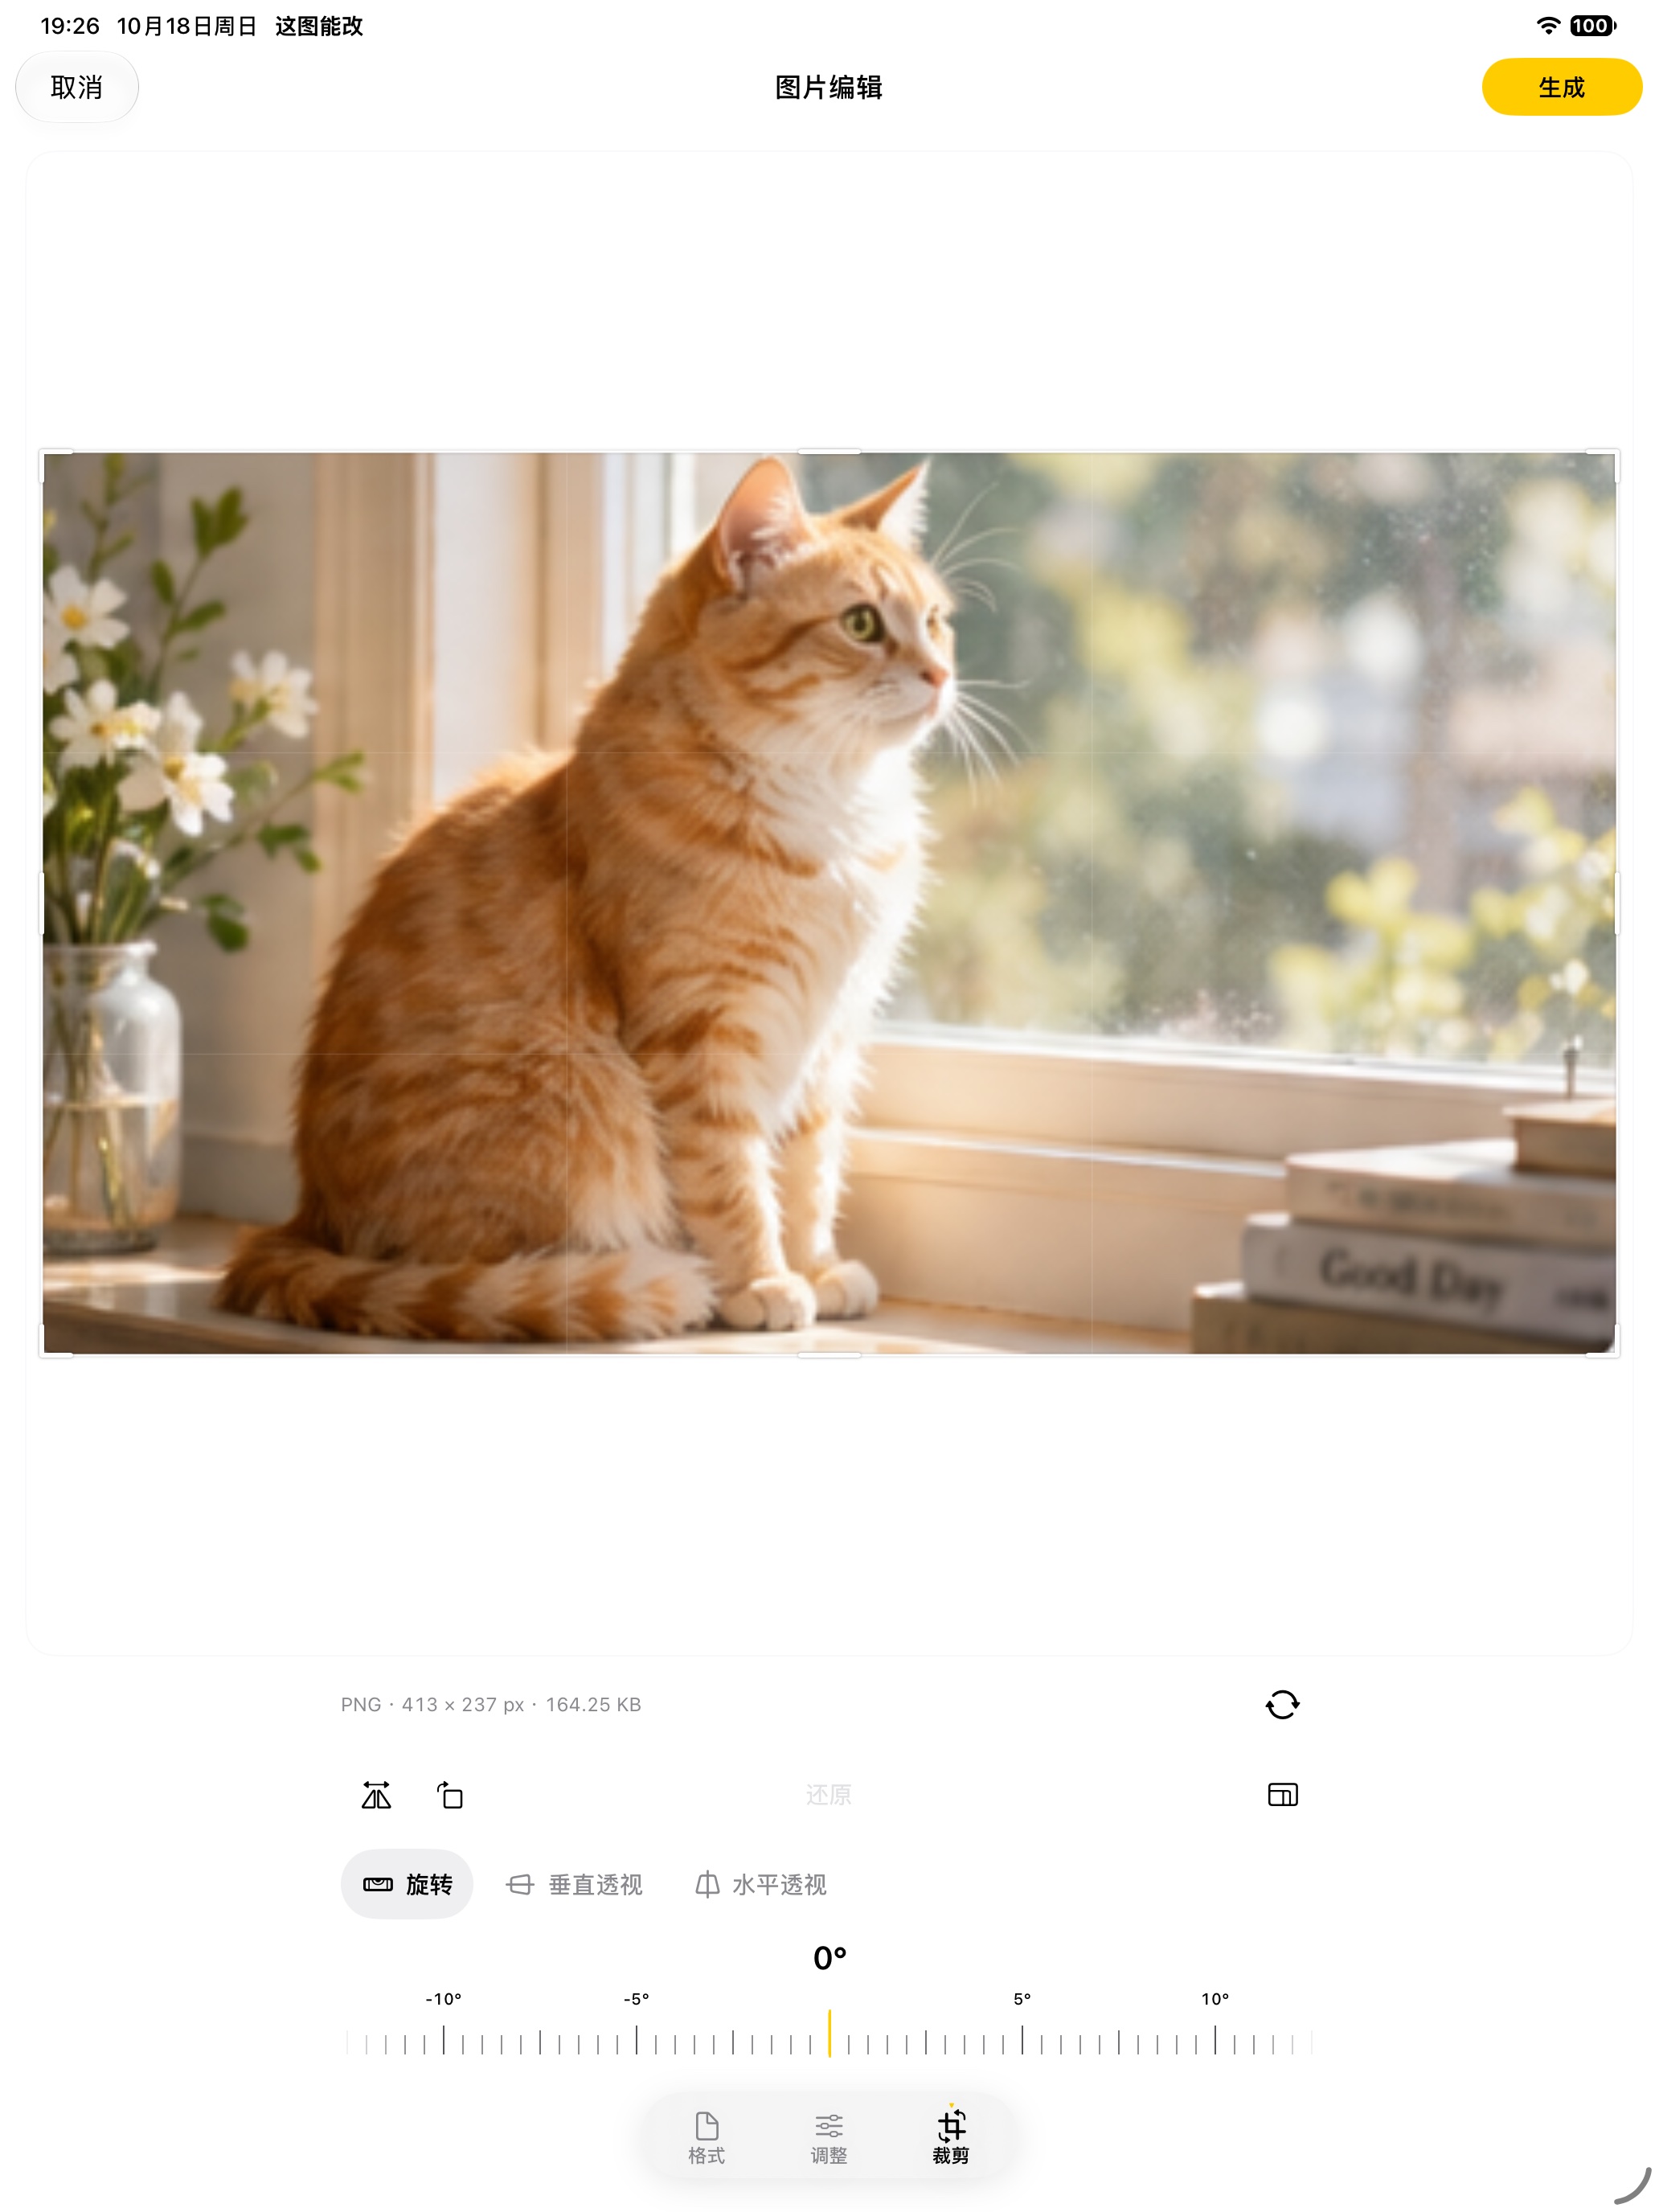
- In Workbench (“工作台”), choose a photo and import it. In the image editor, tap Crop (“裁剪”) in the bottom bar.
- Adjust the composition on the preview canvas. Drag a crop handle at an edge or corner to change the crop boundaries. Drag along the crop frame border to move the whole selection. Drag the photo inside the frame to reposition the image beneath the selection. Pinch on the canvas to zoom in or out when needed.
- To change portrait or landscape orientation, tap the clockwise-rotate icon in the toolbar; each tap rotates by 90°. For a small straighten adjustment, select Rotate (“旋转”) and drag its ruler.
- Open the ratio selector and choose Landscape (“横向”) or Portrait (“竖向”) first. Free (“自由”), Original (“原图”), and 1:1 are always available. Landscape shows 4:3 and 16:9; Portrait shows 3:4 and 9:16. Switching orientation changes which directional ratios appear. A fixed ratio keeps its proportions as you adjust the frame.
- When the framing and ratio look right, tap Generate (“生成”) in the top-right corner. Review the preview and check the actual image, format, pixel dimensions, and file size. They depend on the source photo and selected settings.
- When you are happy with the result, save it to Photos or use the system share sheet. Processing creates a result and leaves the original photo unchanged.
Cropping, resizing, and compression
- Cropping selects the area to keep; content outside the selection is removed from the cropped image. It changes the composition, but does not set a target file size.
- Changing pixel dimensions changes the output width and height in pixels. This is a separate setting from framing, and changing the pixel count does not guarantee a particular reduction in file size.
- Compression changes image encoding or quality settings that affect file size. The result depends on format and image content. Check the actual output size instead of treating a target as a guarantee.
See the product overview and support page for public feature information and current entry points. Continue with the image compression guide or the HEIC-to-JPG guide.