
Video processing · Live Photo quality
Which quality to choose when turning a video into a Live Photo: Original, HD, or Compact
When you turn a video into a Live Photo in This Pic Can Change, the Quality (“画质”) panel offers Original (“原尺寸”), HD (“高清”), and Compact (“小体积”). The only difference is the cap on the output’s long edge; the final file size depends on the source video, and the app does not promise a fixed size for any setting. Check the source resolution first, then choose for how you will use the result.
How the three settings differ
- Original: long edge up to 4,096 pixels. Videos that can be converted already have a long edge of 4,096 pixels or less, so this setting effectively keeps the source pixel dimensions.
- HD: long edge up to 1,920 pixels.
- Compact: long edge up to 1,280 pixels.
- No upscaling: when the source is smaller than the cap, it keeps its own size. Videos with a long edge above 4,096 pixels are unsupported and show a notice after import.
Check the source video’s resolution first
- Open the Photos app, tap the video you want to convert, then swipe up or tap the Info button (ⓘ).
- Look for the resolution and file size in the details; exactly what appears depends on the video and your iOS version.
- Use the longer side, whether the video is landscape or portrait: 4K has a 3,840-pixel long edge, 1080p has 1,920, and 720p has 1,280.
Output long edge for common source videos
- 4K (3840 × 2160, or 2160 × 3840 in portrait): Original 3,840 px, HD 1,920 px, Compact 1,280 px.
- 1080p (1920 × 1080): Original and HD are both 1,920 px, with identical pixel dimensions; Compact is 1,280 px.
- 720p (1280 × 720): all three are 1,280 px, because nothing is enlarged.
- Smaller videos: all three keep the source size.
These figures follow from the long-edge caps. Check the generated result for the actual pixel dimensions and file size.
Which setting fits which use
- Keep the most detail: choose Original, provided the source is high resolution such as 4K. A 1080p source will not look sharper in Original.
- Mostly full-screen viewing on iPhone: many recent iPhone screens have a long edge above 1,920 pixels, so with a 4K source try Original first and compare it with HD. If you plan to use it as a Lock Screen wallpaper, note that This Pic Can Change only creates and saves Live Photos; it does not set wallpapers, and Lock Screen compatibility has not been verified or guaranteed.
- Sending to others or saving space: try HD or Compact. Fewer pixels usually means a smaller file, but the real size also depends on the scene and clip length.
- Source is already 1080p: Original and HD produce the same pixel dimensions, so either is fine; choose Compact if you want it smaller.
- Not sure: generate the same clip at two settings, save both, compare dimensions and file size in the Photos Info panel, and delete the one you don’t need.
Set the quality in This Pic Can Change
- In Workbench (“工作台”), choose Photo or Video (“选择照片或视频”) and import a video, then select Live Photo (“实况”) in the editor’s bottom mode bar.
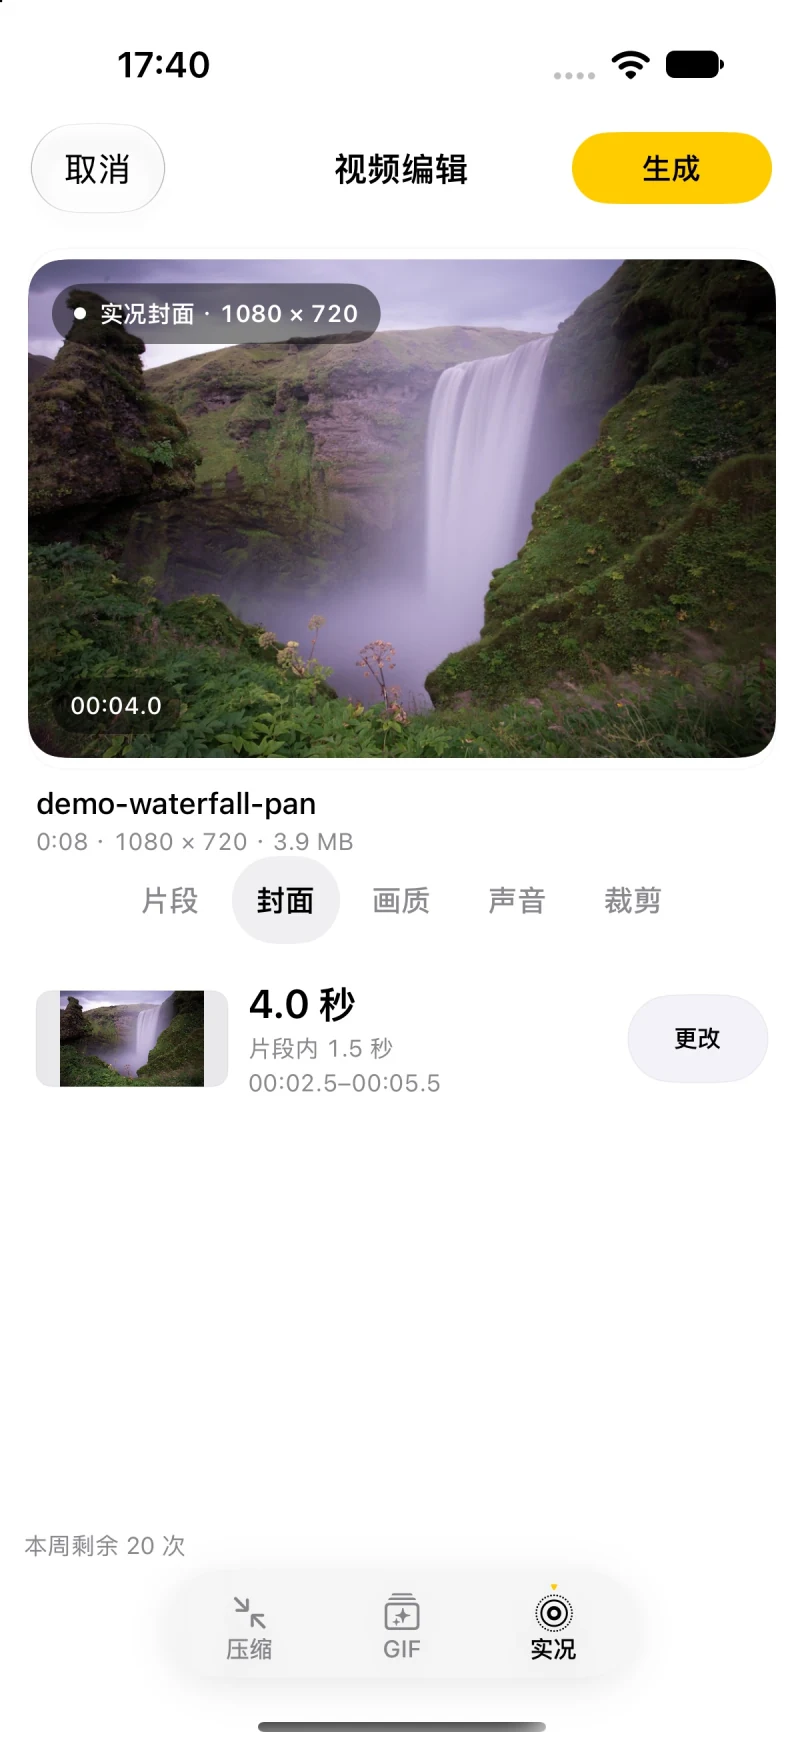
- Select the part to convert under Clip (“片段”), up to three seconds, and pick a still frame inside it under Cover (“封面”).
- Under Quality (“画质”), choose Original, HD, or Compact. Keeping the source audio is a separate Sound (“声音”) option, independent of quality; turn it on or off as needed.
- Tap Generate, check the preview, save to Photos, then confirm the result in the Photos Info panel. For the full workflow, see the video-to-Live-Photo guide.
Frequently asked questions
What is the difference between Original, HD, and Compact for a Live Photo?
They cap the output long edge at 4,096, 1,920, and 1,280 pixels. A source smaller than the cap keeps its own size and is not enlarged; videos with a long edge above 4,096 pixels are unsupported.
Is Original always the largest file?
The app does not promise a fixed file size for any setting. For the same clip, more pixels usually means a larger file, but with a 1080p source Original and HD have the same pixel dimensions. Check the actual size after saving.
Will Original make a 1080p video sharper?
No. Original keeps the source pixel dimensions; smaller videos are not upscaled, so no detail is added.
Can I convert a video with a long edge above 4,096 pixels?
No. The app shows an unsupported-size notice for those videos; use a video whose long edge is 4,096 pixels or less.
Does the quality setting change the Live Photo’s length or sound?
No. Length comes from the selected clip, up to three seconds, and keeping sound is a separate Sound option. Quality only sets the cap on the output long edge.
Is my video uploaded during conversion?
No. Video-to-Live-Photo conversion runs on device and does not upload the source video to the app developer’s servers.
Related: video-to-Live-Photo guide, Live Photo not moving troubleshooting, and video compression guide. See the product overview and support page. To view video details, see Apple’s See photo and video information on iPhone.